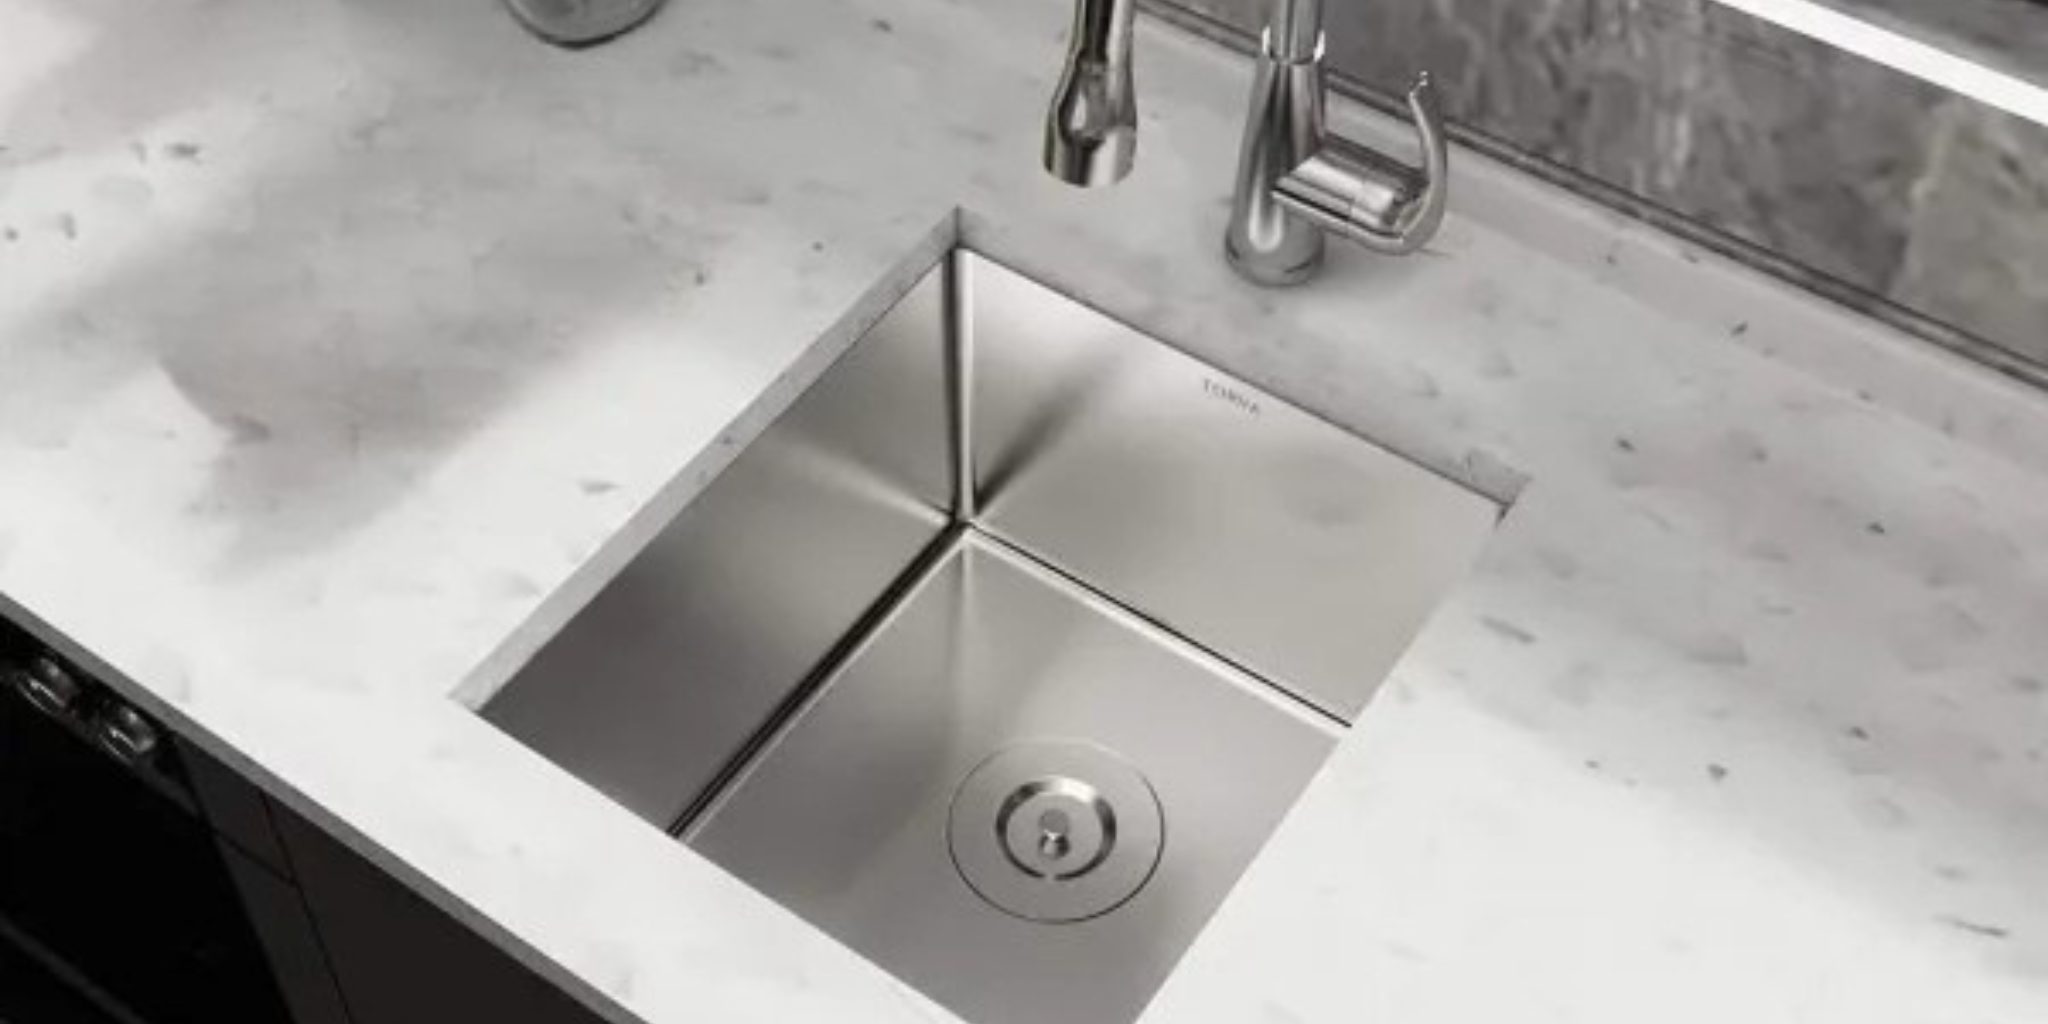
Damage, mould growth, and counter warping. If you are wondering how to caulk a stainless steel kitchen sink, this simple step-by-step guide will walk you through the process.
This method is especially relevant for those working with custom stainless steel fabrication, commercial exhaust canopy installations, or integrated stainless steel benches, where seamless waterproofing is critical to both function and aesthetics.
Why Proper Caulking Matters
Failing to seal your stainless steel sink properly can lead to:
- Water is leaking under the counter
- Growth of mould and mildew
- Damage to surrounding materials
- A loose or shifting sink
Whether in a domestic kitchen or a commercial kitchen fitted with custom stainless steel fabrication and a commercial range hood Melbourne or commercial kitchen exhaust canopy, a clean and tight caulking job ensures long-lasting performance and hygiene.
Tools and Materials You’ll Need
- 100% silicone caulk (mould-resistant and waterproof)
- Caulking gun
- Masking tape
- Rubbing alcohol
- Utility knife or scraper
- Clean cloth or sponge
- Gloves (optional)
Step-by-Step: How to Caulk a Stainless Steel Kitchen Sink
1. Clean the Surface
Use rubbing alcohol and a lint-free cloth to remove grease, grime, or any old caulk. A clean surface ensures better adhesion.
2. Apply Masking Tape
To achieve straight, professional lines, apply masking tape along both sides of the seam where the sink meets the countertop.
3. Cut the Caulk Tube
Cut the tip of the silicone tube at a 45° angle. Load it into your caulking gun.
4. Apply Caulk Smoothly
Slowly squeeze out an even bead of silicone along the edge of the stainless steel sink. Work in small sections for better control.
5. Smooth the Caulk Line
Using a caulking tool or your finger dipped in soapy water, smooth the bead before it starts to set.
6. Remove the Tape
Peel off the masking tape carefully while the caulk is still wet. This will leave behind a clean, crisp edge.
7. Let it Cure
Allow the caulk to cure for at least 24 hours before exposing the sink to water.
Bonus Tips for Custom Stainless Steel Fabrication Projects
When working with custom stainless steel fabrication, especially in environments that involve commercial exhaust hoods or high-use commercial kitchen exhaust canopy systems:
- Use clear or colour-matched silicone for visual consistency
- Ensure seamless transitions between benches, sinks, and walls
- Regularly inspect and reseal joints in moisture-prone areas like kitchens and exhaust zones
- Coordinate your sink sealing with the installation of your commercial range hood Brisbane for a complete, hygienic setup
Frequently Asked Questions
What type of caulk should I use on a stainless steel sink?
Use a 100% silicone caulk that is waterproof, mould-resistant, and designed for kitchen or bathroom use. Avoid latex-based products.
How long does it take for caulk to cure?
Most silicone caulks take 24 hours to cure fully. Always follow the product’s specific curing instructions before using the sink.
Can I caulk over old caulk?
It’s best to remove old caulk to ensure proper adhesion and a neat finish.
Ready to Upgrade Your Stainless Steel Sink Setup?
Do you need a professionally fitted stainless steel sink with precision sealing and integrated workspaces? Our team specialises in custom stainless steel fabrication, including benches, splashbacks, and seamless sink installations for both domestic and commercial kitchen environments.
We also provide complete solutions with commercial exhaust canopy systems and commercial range hood setups to meet your ventilation and compliance needs.
Contact us today to explore our range of high-quality stainless steel sinks, benches, and commercial exhaust hood installations designed for hygiene, durability, and performance.


